
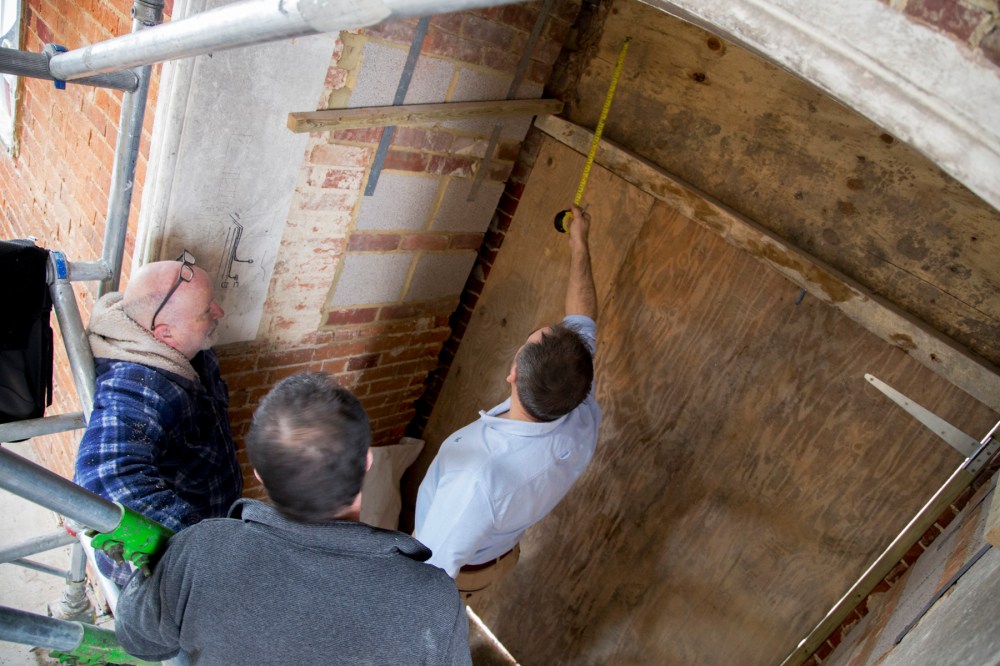
The past few weeks at the chapel have seen many changes take place. The plastering is almost complete and as a result the interior is now looking amazing. Outside the ground work is underway and the brick walls making up bin enclosure has been finished. Today, Shelagh Davies came with her assistant, Barrie, to measure up the stained glass window so that they can begin work on the new design.

The Window
Speaking to Shelagh and Barrie, they explained that each section of glass would be hand-cut with extreme care to ensure a perfect fit. Not an easy task at all and one that has taken the pair many years of experience to master.


The process of choosing which colours and textures to use is certainly a difficult one, especially knowing that the window will be up there for, hopefully, a very long time. The design that Austen created does have some challenges; the writing is on a textured section of the glass, which is hard to achieve without distortion and the yellowy green glass is difficult to get hold of. However, Shelagh has come up with a plan that will enable her to lay the text onto the textured glass by putting a very thin layer of flat glass in front of it. This way there should be minimal distortion and the design itself will not be affected.
Shelagh is based in Lyndhurst and if you are interested you can see some of her previous work on her website http://www.stainedglasswork.co.uk. Barrie teaches an evening course on stained glass production, which is apparently highly addictive. If you are interested in learning this unique art then you can check out his course on the Brockenhurst College website (https://www.brock.ac.uk/college-course/stained-glass-all-abilities/).
A Grand Entrance
Rob, from the wood workshop next door, kindly came over today to measure up the front door. With his business being right on our doorstep it seemed ideal to get him involved. The door itself will be a solid wood door with a contemporary square panel design, painted to match the dark grey windows and soffit boards. The overall effect should be very grand, especially with it standing at approximately 7 feet tall!
Plastering
As explained in the previous post, our plastering team are working in three different stages as a relay. The first is responsible for installing the edge beading for the shadow lines so that we won’t require any skirting or architrave. The second stage is the actual plastering and, following that, the initial white-wash is painted once the plaster is dry.


Arrival of the Floor Tiles!
At last our floor tiles have arrived! These are absolutely massive tiles which will hopefully have a great affect once they have been laid. The tiles are porcelain with a smooth, yet slightly textured, finish to them.
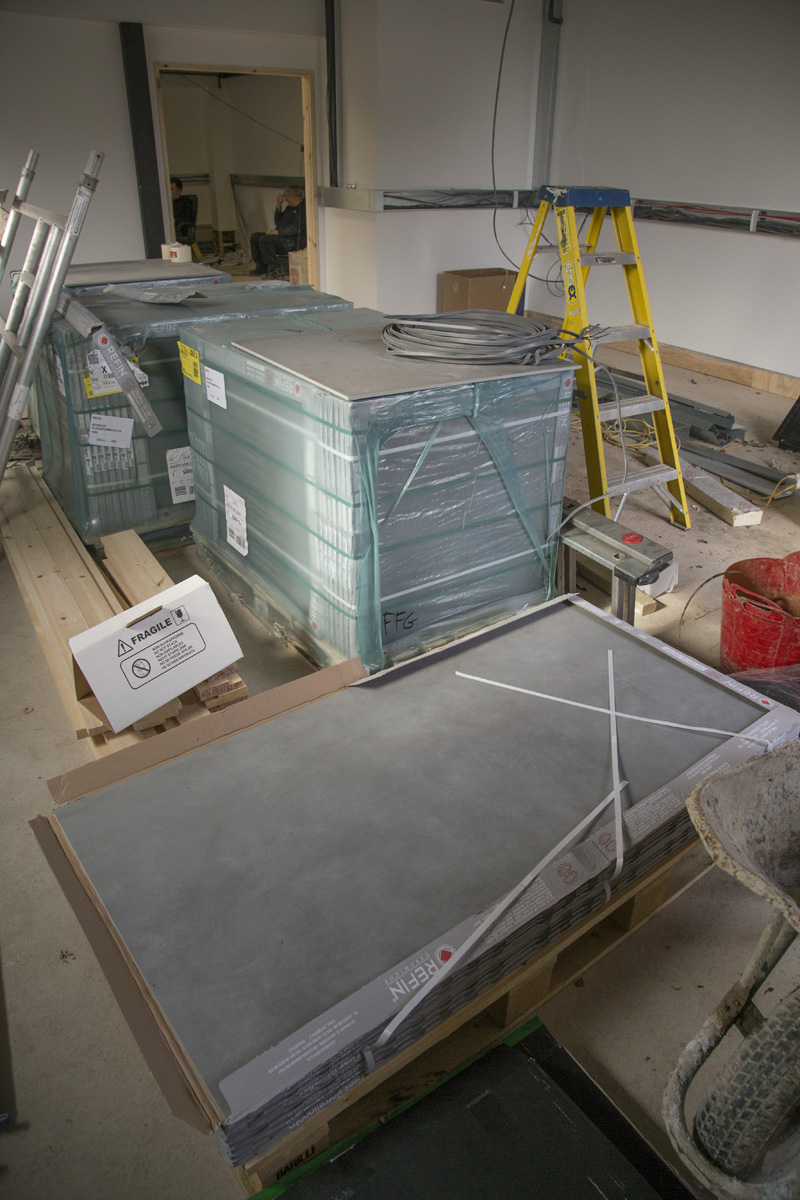
Many of the tiles will need to be carefully cut in order to fit around the beams and other obstacles, while still ensuring that there is as little wastage as possible. With each tile weighing about 25kg per m2, a lot of care will need to be taken when manoeuvring them to prevent them from breaking under their own weight.
Keep checking in on this blog – we are getting close to the move in date so lots of exciting things are lined up over the coming weeks!
