
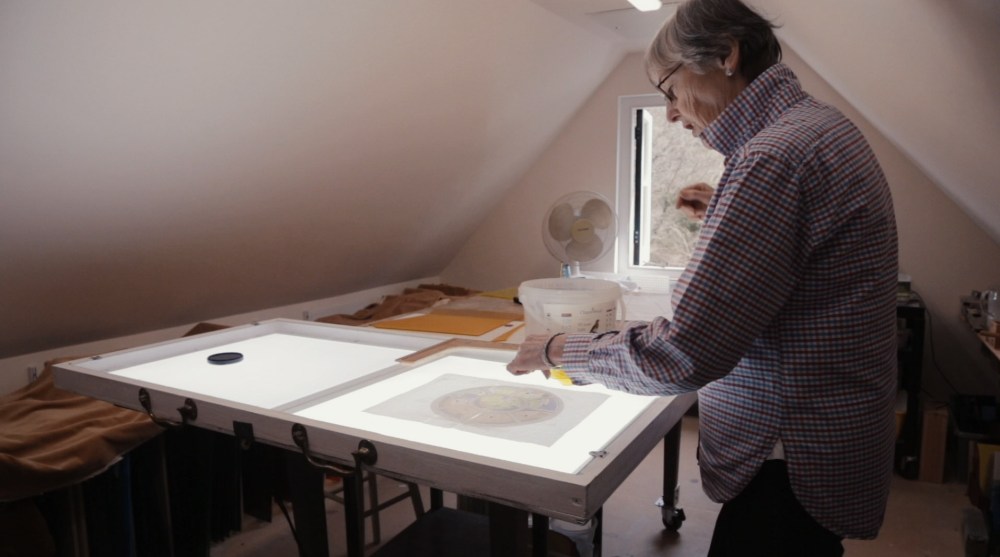
Last week we had the pleasure of joining Shelagh Davies in her studio, at the heart of the New Forest. Shelagh is the expert stained-glass window artist who is creating the new round window at the front of the chapel, and was kind enough to invite us to see the work in progress.


At her beautifully placed studio, surrounded by a forest buzzing with wildlife, we watched Shelagh skillfully cut and assemble one of the outer sections of the window. It was a truly fascinating process to watch and it is easy to understand why Shelagh enjoys producing this artwork so much. Check out the video below:
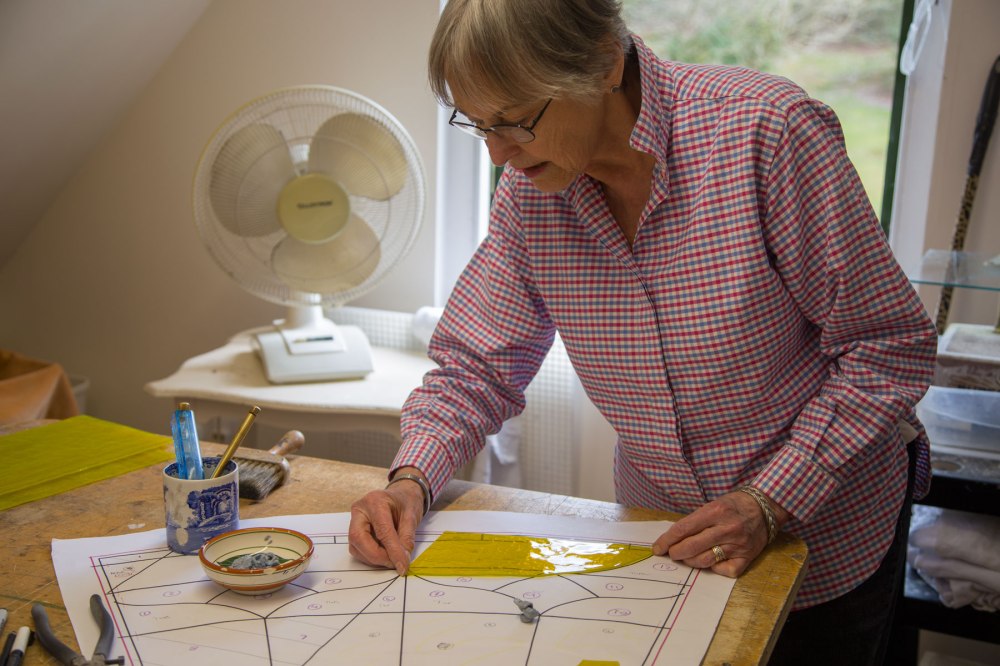
Using the design on her lightbox she carefully planned and numbered each section so that every cut would count. Shelagh explained that preparation was key in making sure very little glass would be wasted and that each stage could be completed as efficiently as possible.
To cut the glass a special tool is used that cuts a shallow scratch into the surface. This is all that is required to then break the glass with a perfect edge. Most of the time the glass can be snapped by hand but in order to ensure that no excessive stress is put on the glass Shelagh uses a hand-held pincer that carefully breaks the glass along the desired edge – an extremely satisfying thing to watch!


The glass that is used in this window has come from all over the world with a lot of it originating in America and some in China as well as here in the UK. Finding some of the colours that were specified in this design has been quite a task as not all colours and textures are easy to produce.
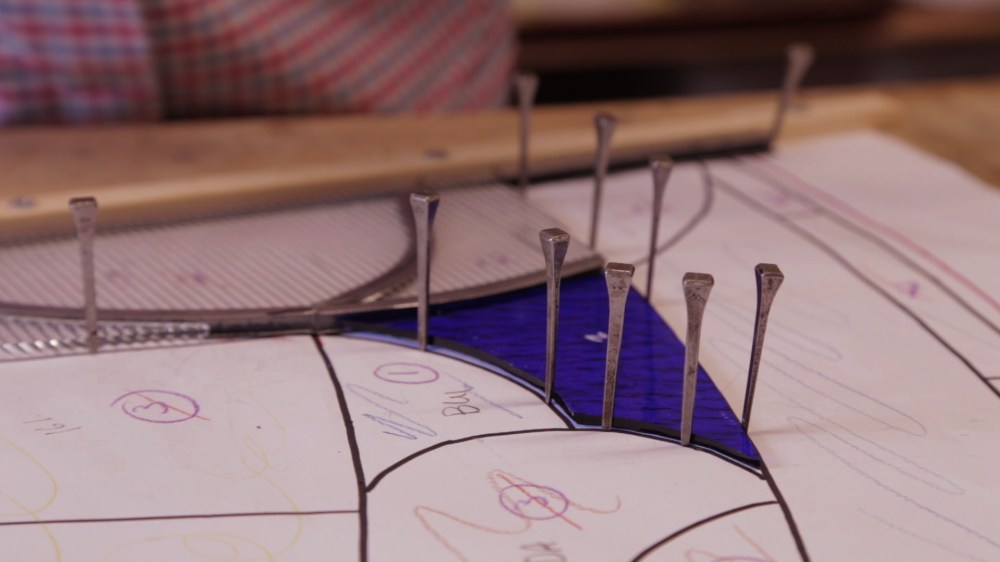
Once the glass is cut, the next stage is pinning it down onto the paper template with the lead sections in order to check the fit. Sure enough every cut Shelagh had made fit perfectly! Therefore, the next step was to prepare the lead for soldering.
Soldering, as Shelagh explained, is a delicate process that needs care in order to ensure the solder doesn’t drip between the glass or end up where it shouldn’t. To aid in getting the solder to flow well, Shelagh first rubs wax onto the joins. Lead hardly requires any heat in order to melt it and, therefore, the solder iron itself does not need to be too hot. It takes very little to bond the lead together, with each join only requiring a few dabs from the iron.
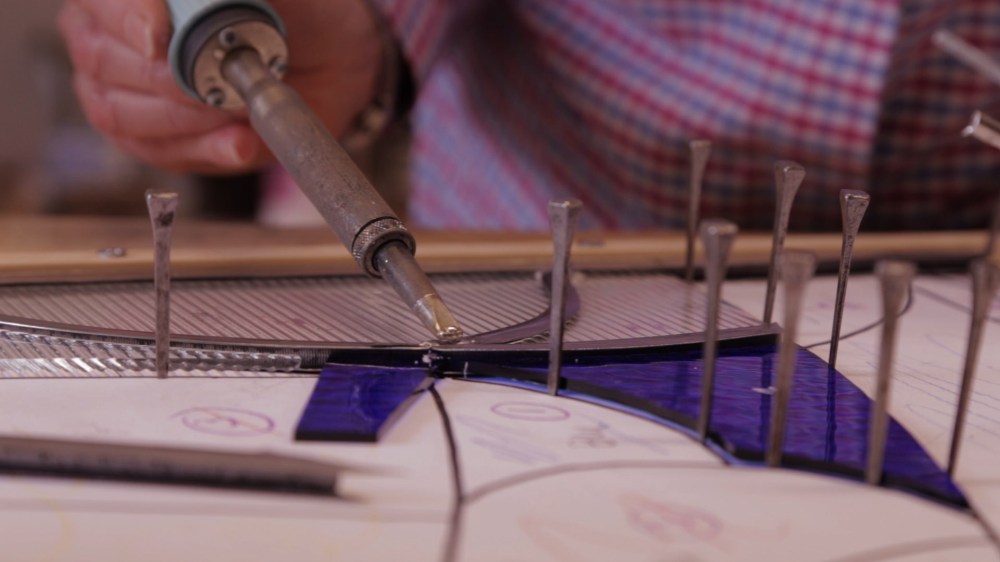
As quickly as it melts, it also cools and within minutes the section is bonded together. As a final step, the soldered joins are rubbed down to smooth and tidy them. With this all done the next section could be started.
If you are as intrigued by Shelagh’s work as we are, then please check out her website at www.stainedglasswork.co.uk
There are a lot of changes taking place as we approach the end of this exciting project, so be sure to follow the rapid progress. Keep checking the blog for updates!
